The AX Zapier App
With our new Zapier app, the automatic import and export in our system is for the first time accessible without the need for extensive programming skills. If you want to further enhance your platform experience by simply automating key steps on the AX NLG Cloud, this feature is for you.
Zapier and Usecases
Before diving into the Zapier app itself, I would like to provide you with a brief overview of the Zapier platform and why it plays well with our own automation efforts.
Zapier is a platform that connects applications such as mail applications, office applications, e-commerce applications, and many more application types, to enable communication between those systems.
Want to get a mail, each time a customer orders something from your shop system and want to automatically have the mail and file attachments printed? Sure, why not?
Want to get a specific action done in your CRM (An invitation email? A setup for a personal call?), each time you receive a mail with a certain topic? Of course!
Would you like to post your AX NLG Cloud generated content to your online shop or website right away? Yes, please!
Would you like your product data imported in your AX Semantics account, as soon as you create or update a new or existing product? Yes, rather!
These are but small glimpses of what you can already do to automate your workday step by step, using zapier. Naturally, as a platform furthering automation for our users, we see zapier as a perfect fit to easily integrate and provide our unique capabilities in conjunction with a wide range of already existing services.
The platform can be found here: Zapier.com.
After registration, you are now able to create a "Zap".
Data Import
The arguably most important issue for a hands-off content automation is making your data accessible for the content generation. That mandates your data being accessible in the first place, which is by no means a common thing. Normally, your data dwells in places well hidden, like deeply buried databases or lonesome folders located on sinister servers. Whatever the case, for us and our use case that's no good. We need the necessary data to be accessible online.
Should I Choose a File-Based Approach?
First you have to think about, whether you want to use a file to transport your data or not. As this method has some advantages and disadvantages it's worth to get a brief overview.
Methods for file transfer: Excel file, CSV file, JSON file (not covered in this example).
Perks:
- Relatively easy to set up.
- Widespread use and know-how of applications (MS Excel, Libre office, Texteditor).
- Needs less to no programming know-how.
- Needs instead know-how of file formatting (UTF8, structure of a csv-file, ...).
An Example Using Zapier
The first step is to make your data file accessible online. One of the easiest ways and the chosen way in our example is Google Sheets. If you have an example file just drop it into your Google Drive and your file is accessible for the next step. By inserting your file into Google Drive, you can then access it via Zapier (Keep in mind, that you have to open the file once to get an actual google sheet):

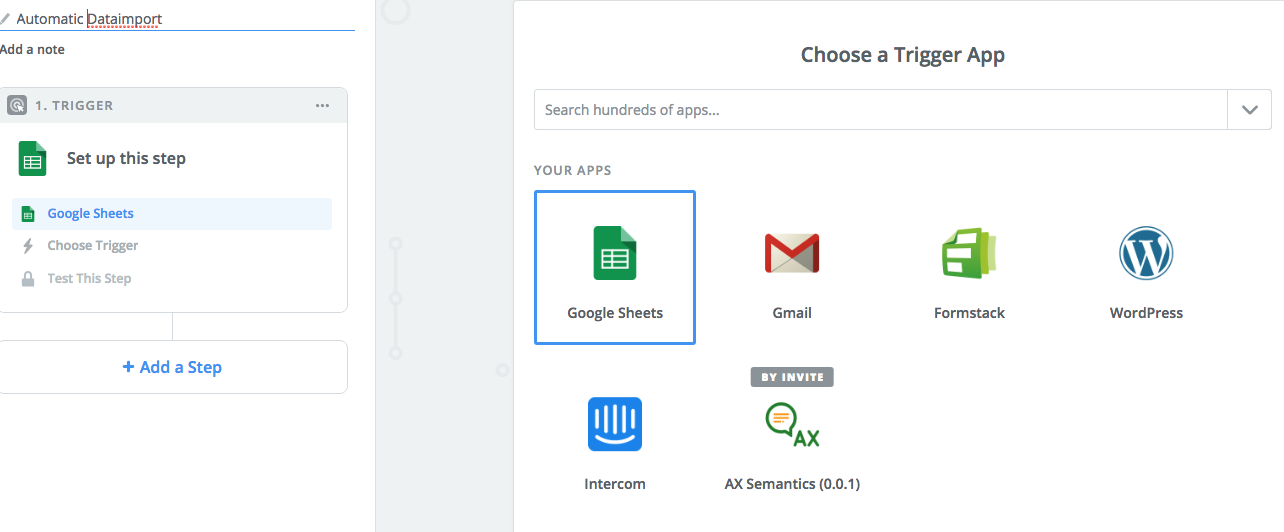
How to Set up the Trigger
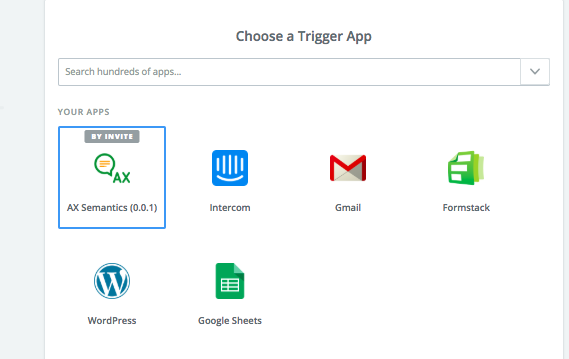
Choose Google Sheets as App for your trigger.
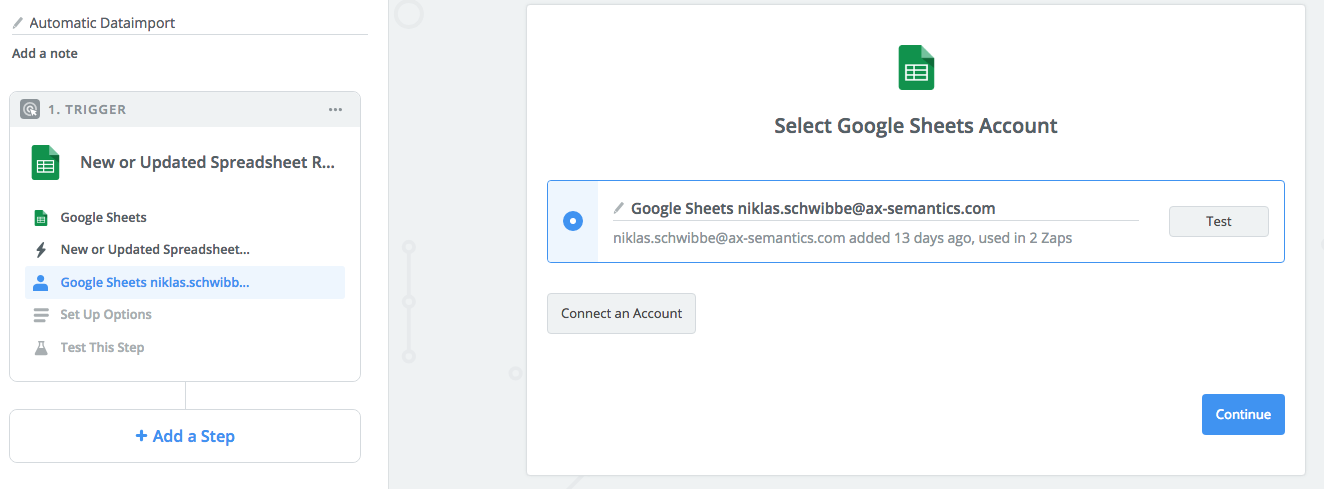
Then you can define your trigger action. One option is to set up the data import to be triggered each time a new spreadsheet is created in your account. Another option would be to monitor a specific spreadsheet and determine if an import is done each time a row is updated or added. For the sake of demonstration let's go with the new or updated spreadsheet row option:

Connect your account to grant Zapier access to your Google Drive:
Then choose the spreadsheet and worksheet you wish to monitor for the data import (optionally you could define a specific column to be monitored as a trigger):
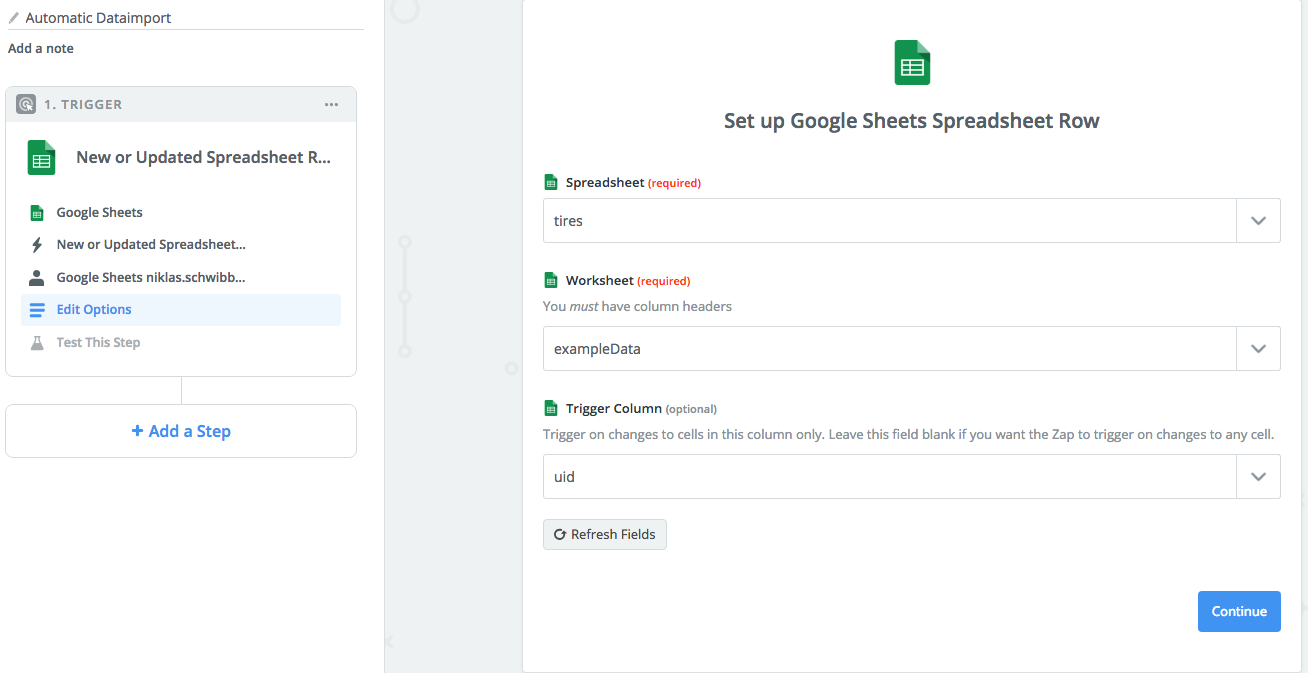
Now each time a UID is changed or added, a new import will be triggered. As a next step, let's define the import in the AX Semantics platform.
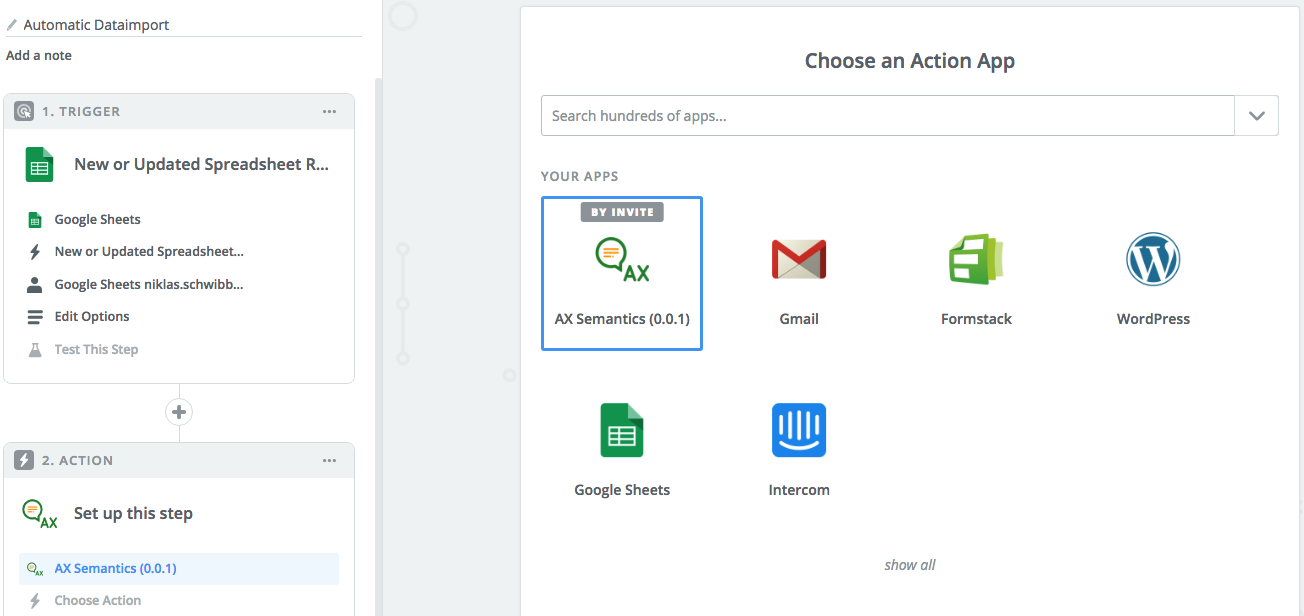
How to set up the Import
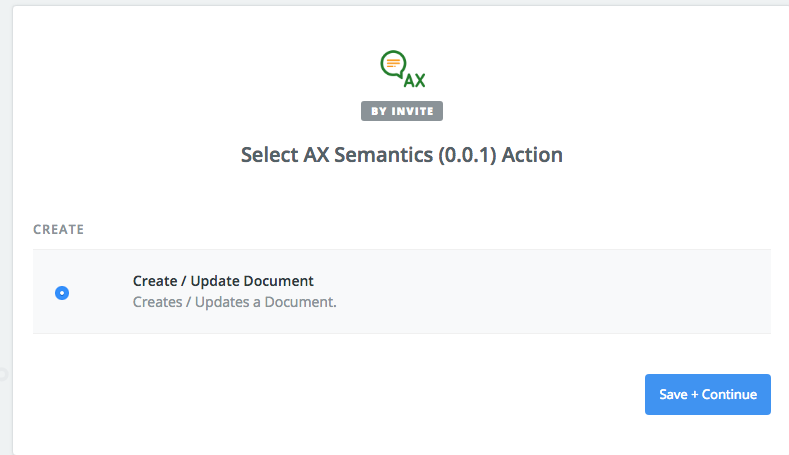
Choose the AX Semantics app as your action:
Currently the only available option here is to create/update a document. If you feel we are missing something, please do tell us via our customer support. For our automation example this should suffice:
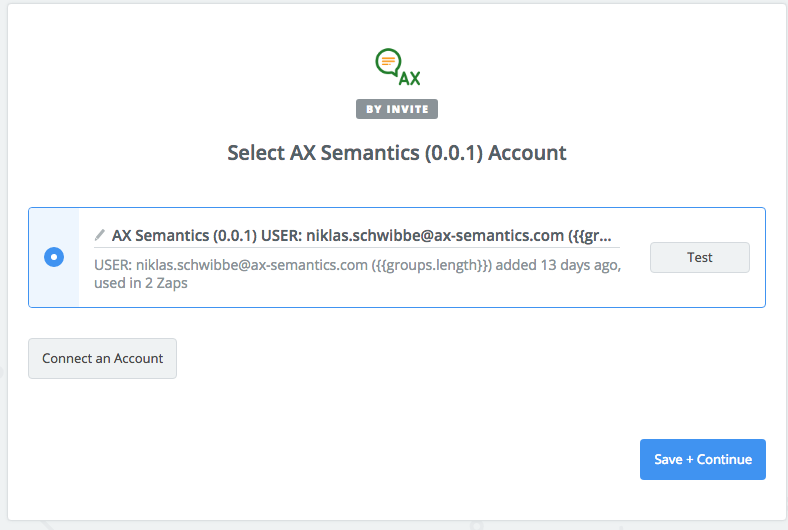
Connect your AX Semantics account:
After that, you have to tell the Zapier application where your data should go, and, most importantly, which fields to include from the selected sheet. Also, you can change the field names if you want.

If that template is properly configured, every data field included is then imported into the specified collection, whenever the trigger is triggered.
This concludes the configuration of the most basic import automation using Zapier. Feel free to explore the many existing integrations of apps like Magento, to find the way most appropriate for your own environment.
Content Delivery
The next step would be to implement a publishing connection between AX-Semantics and an existing WordPress site or other publishing system, thus supplying your online presence with up-to-date content on a regular basis.
Let's say you want to regularly comment on the local weather and provide your readers with useful information regarding allergy reports or other weather phenomena. Just create your own AX Semantics weather project, based on your local weather data and connect it to Zapier.
Create Your Zap Trigger
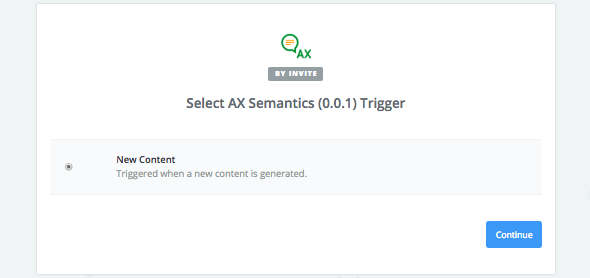
A Zap is an automation unit, consisting of a trigger and a predefined, conditional action. The Zap is constantly expecting to be triggered to then perform a predefined action like sending a mail, posting a comment or sending a notification to various communication channels. The trigger in our case can be implemented by using the AX Semantics Zapier app:
In our use case, the automation depends on the finished AX Semantics content generation.
Just connect your AX Semantics account to enable the app to provide all necessary access rights to your content.
Next, you can access your next projects and your collections in the app, to determine which collections are eligible for productive publication.
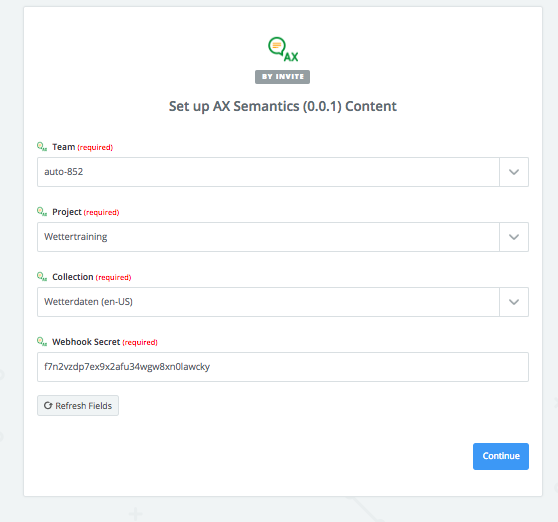
TIP
Don't forget to match the Webhook secret from your collection. Otherwise the app won't be able to recognize that the content is coming from a trustworthy source.
That concludes the configuration on the AX side. The Zap is now equipped with a trigger and connects the AX content generation to the Zapier platform.
Defining an Action
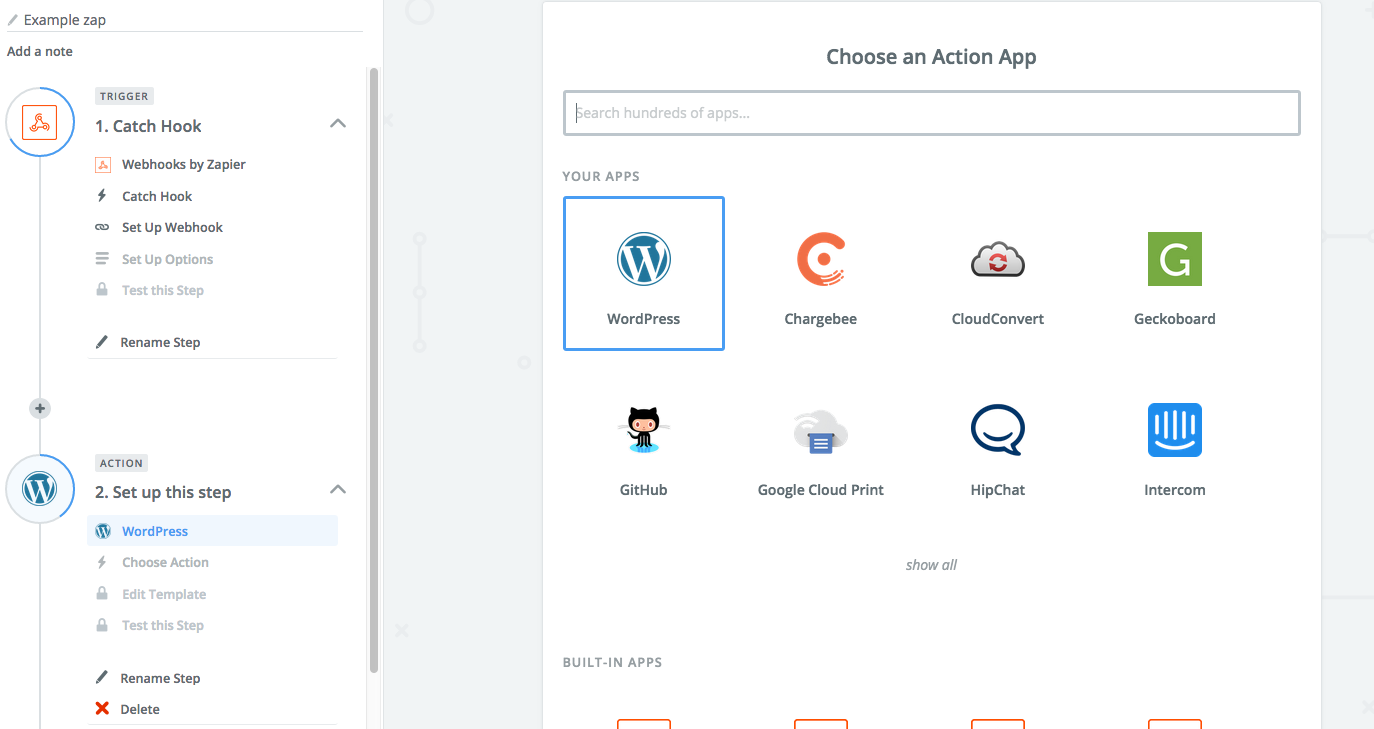
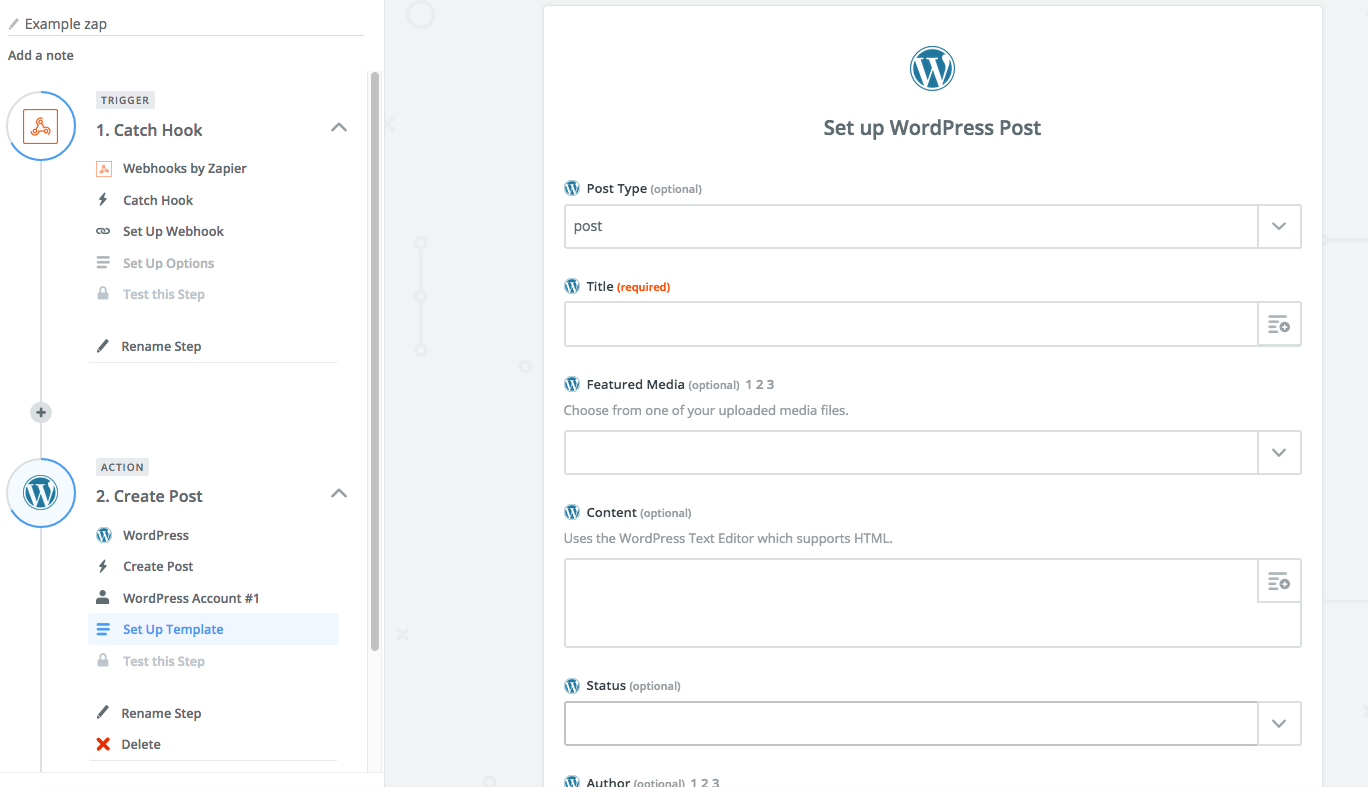
After defining a trigger for our automation and connecting AX Semantics, the second step is to tie in your WordPress blog or any other site or online presence. Zapier provides many options on where to publish your generated content. That's why we are focusing on a more modest example in the form of a WordPress site as our publishing platform. For the Action of your Zap, choose WordPress as your second application.
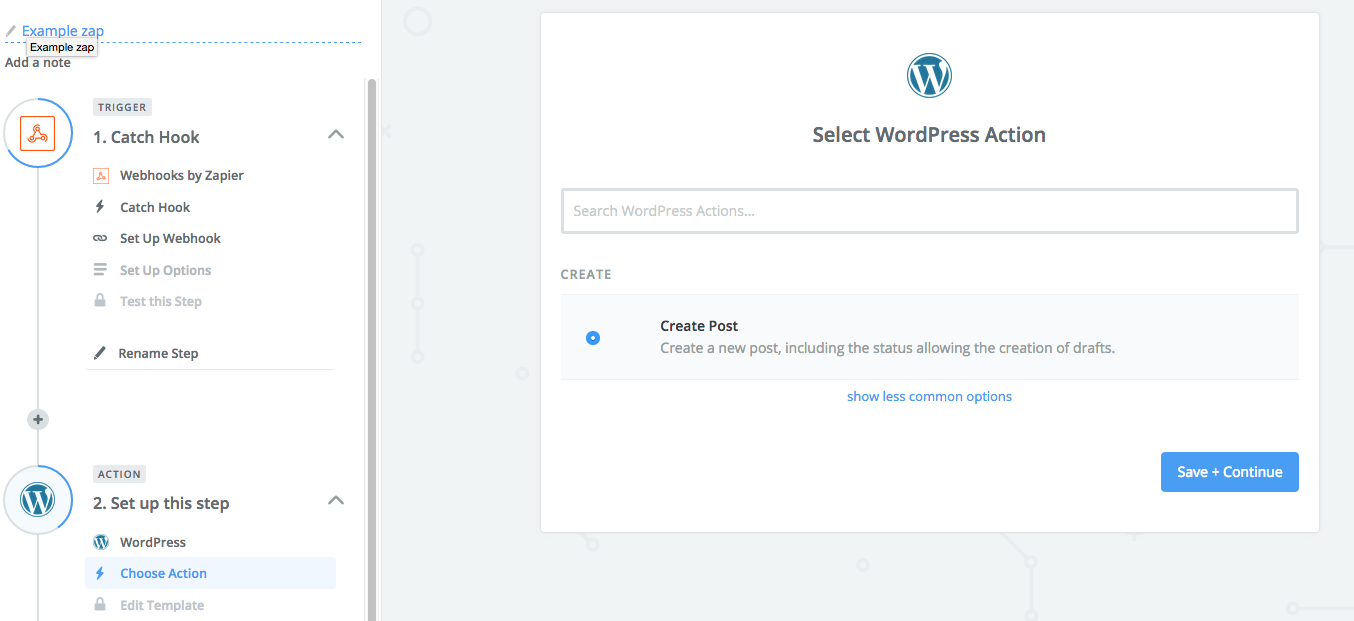
Next, go with the most common option of WordPress Automation, by choosing to Automate the Creation of a new WordPress post.
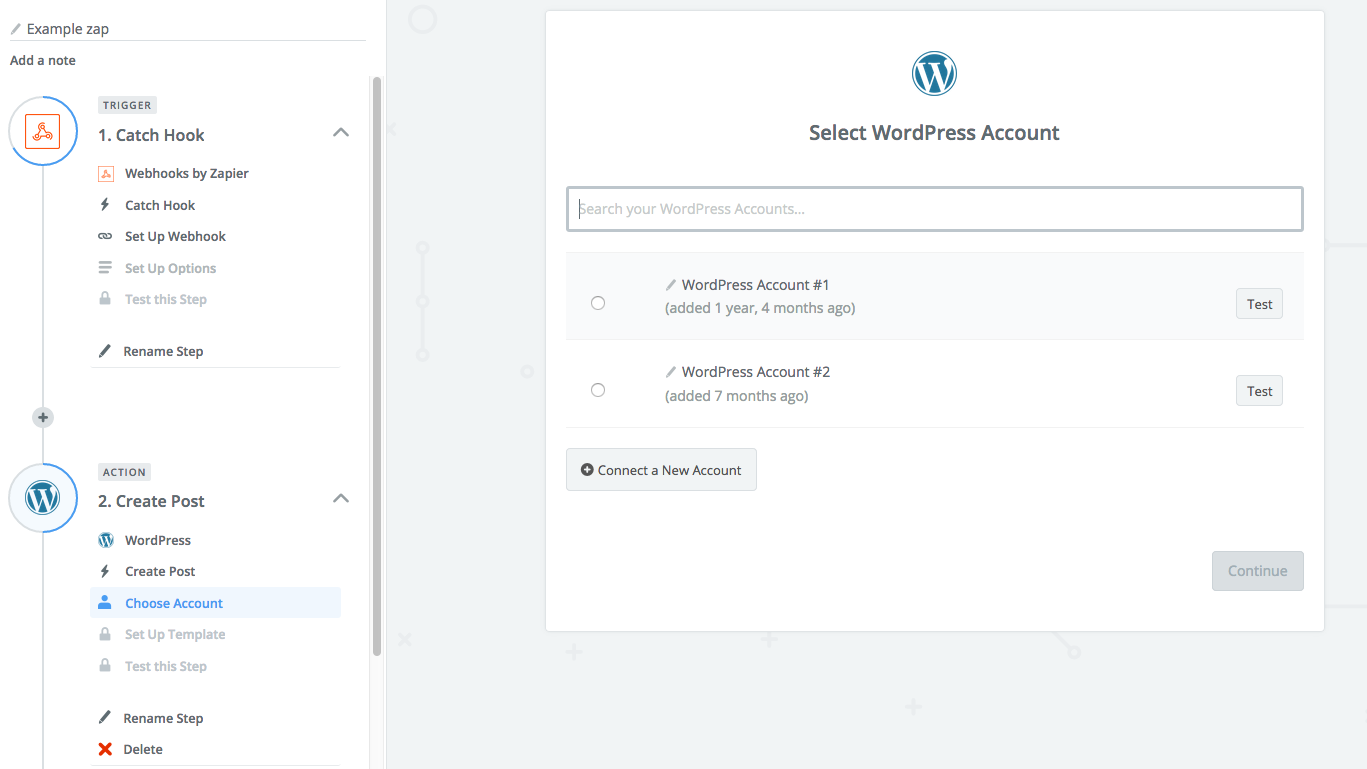
To provide the Zap with Access to your blog, enter your WordPress account to enable the Zap to create posts with your WordPress user credentials.
The content payload of the AX Semantics app consists of some fields, including the dataset name, the ID, the generated content and other additional meta information. To create a nice blog post you have to match the delivered fields with the template of the site. Information regarding the structure and format of our webhook messages can be found here: https://apidocs.ax-semantics.com/#push-for-new-content-via-web-hooks
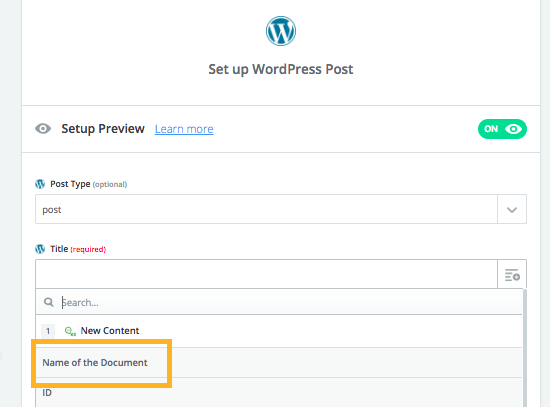
An example on how to match your generated content to the post template of WordPress, is by matching the dataset name to the title.
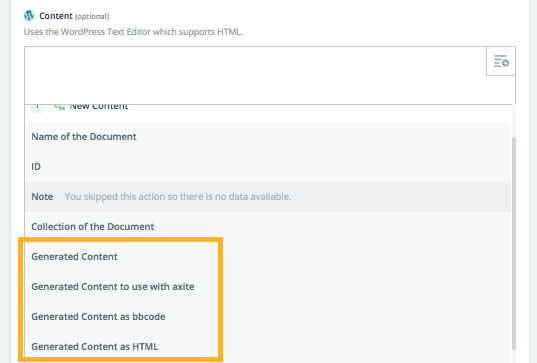
And matching the generated content to the body of the post.
And that's it. Now each time your content is generated on our platform, a post is created on your WordPress site.
If any questions arise or you would like to start working with the app, feel free to contact our support.